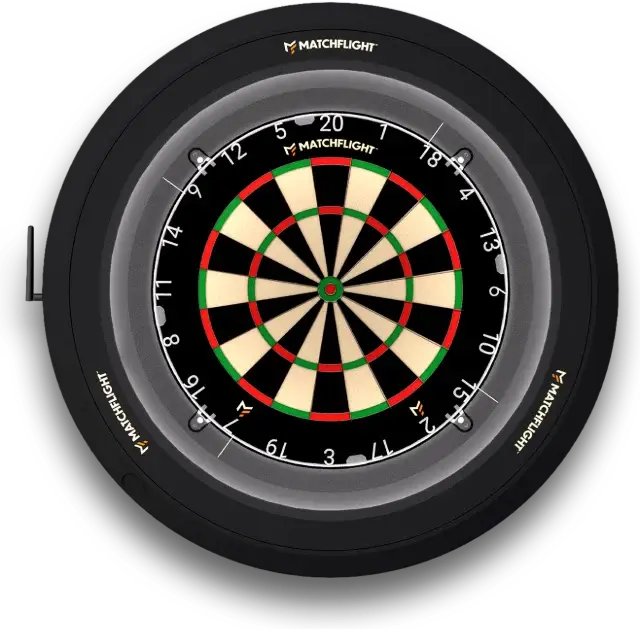
Guide
You’ll see one step at a time. Look at the photo, do what it says and tap Next.
Do the 4 parts in order. After each part, you’ll check that everything is right.
A1Unpacking Heylo · step 1 of 12
The paper is a bit tight. That’s normal. Pull it out gently.
A2Unpacking Heylo · step 2 of 12
Take out: the cardboard cross, the small box of parts and the metal strip (the oche).
Don’t throw away the small box of parts. Everything you need is inside.
A3Unpacking Heylo · step 3 of 12
They sit at an angle on all sides of Heylo. Remove them carefully.
A4Unpacking Heylo · step 4 of 12
Lift Heylo out of the box. Turn it over so the front faces down. Lay it on a flat surface.
You’ve got it right if: Keep the box for as long as your warranty runs.
A5Unpacking Heylo · step 5 of 12
Remove the protective foam from the centre of Heylo.
You’ve got it right if: The plastic part in the centre clicks into place.
A6Unpacking Heylo · step 6 of 12
They’re on the edge of Heylo.
A7Unpacking Heylo · step 7 of 12
Lay out all the parts side by side and count them.
Anything missing? Stop here and get in touch with us.
A8Unpacking Heylo · step 8 of 12
Screw a levelling foot into each of the 4 holes on the back.
Don’t screw them in too tightly. You’ll adjust them later, once Heylo is on the wall.
A9Unpacking Heylo · step 9 of 12
Plug the power cable into the adapter.
A10Unpacking Heylo · step 10 of 12
Plug the adapter’s connector into Heylo’s power port.
Push the plug in firmly. If it’s loose, Heylo won’t get proper power.
A11Unpacking Heylo · step 11 of 12
Peel the top layer off the sticker on the crossbar. Lay the cable on the sticker.
A12Unpacking Heylo · step 12 of 12
Put the cable tie around the cable and the crossbar. Pull it tight.
You’ve got it right if: The cable tie’s locking head sits at the side.
Final check of part A
Tick everything off. Something not right? Use Previous to go back to that step.
B1Preparing the dartboard · step 1 of 6
Lift the number ring off the plastic tabs.
Leave the plastic tabs on the dartboard. Don’t remove them.
B2Preparing the dartboard · step 2 of 6
Lay the board face down.
B3Preparing the dartboard · step 3 of 6
Unscrew the old feet and the old centring pin. Remove them.
B4Preparing the dartboard · step 4 of 6
Screw the centring pin into the hole in the centre of the back.
Only use the centring pin from the Heylo box, not your old one.
B5Preparing the dartboard · step 5 of 6
Lay the board face up.
B6Preparing the dartboard · step 6 of 6
Lay Heylo face up.
Final check of part B
Tick everything off. Something not right? Use Previous to go back to that step.
C1Placing the board in Heylo · step 1 of 12
Turn Heylo so the antenna is on the left-hand side.
C2Placing the board in Heylo · step 2 of 12
Slide the cord under a plastic tab. Then slide it under the tab on the opposite side. Hold the cord with both hands and lift the board.
C3Placing the board in Heylo · step 3 of 12
Lower the board gently. The centring pin must drop into the hole in the centre of Heylo. Heylo’s hooks and springs stay above the board.
If the pin doesn’t drop into the hole, your scores won’t be right later on.
C4Placing the board in Heylo · step 4 of 12
Press the centre of the board with your hand. Do you feel the board give a little? Then the pin is in the right place.
Check: Does the board give when you press on it?
How to fix it
Then the centring pin isn’t in the hole. Lift the board slightly with the cord. Gently move it back and forth until the pin drops into the hole. Then press again.
Fixed? Then tap Yes.
Help via WhatsAppC5Placing the board in Heylo · step 5 of 12
Turn the board until the black segment of the 20 is at the top. There will then be a plastic tab to the left of the 20.
C6Placing the board in Heylo · step 6 of 12
Heylo has 4 cameras. They sit diagonally: top left, top right, bottom left and bottom right. There must be no plastic tab in the green zones.
Is there a tab in front of a camera? Then Heylo will score incorrectly. Turn the board slightly.
Check: Are all 4 green zones free of tabs?
How to fix it
Check that the 20 is exactly at the top, with a tab to the left of it (step C5). Turn the board slightly if needed. If it’s right and there’s still a tab in a green zone, send us a photo.
Fixed? Then tap Yes.
Help via WhatsAppC7Placing the board in Heylo · step 7 of 12
Press the board firmly into place. Secure each board clamp with a screw (I) and the Allen key (H). You’ll have a few screws left over: those are spares.
Don’t bend or force the clamps.
C8Placing the board in Heylo · step 8 of 12
Press on each clamp. If one is loose, tighten it a bit more.
You’ve got it right if: The board is secure and doesn’t move.
C9Placing the board in Heylo · step 9 of 12
Pull the cord out from under the board.
C10Placing the board in Heylo · step 10 of 12
Hold the number ring so the 20 is at the top.
C11Placing the board in Heylo · step 11 of 12
Hook the number ring onto all of Heylo’s hooks. There will then be a little space between the ring and the board.
Don’t use your dartboard’s plastic tabs to hang the ring.
Check: Is the number ring hanging on Heylo’s hooks, and not on the tabs?
How to fix it
Lift the ring off. Hang it again, on all of Heylo’s hooks. Don’t use the tabs on the board.
Fixed? Then tap Yes.
Help via WhatsAppC12Placing the board in Heylo · step 12 of 12
The number 20 on the ring is directly above the black segment of the 20.
Check: Is the 20 on the ring directly above the black segment of the 20?
How to fix it
Lift the ring off the hooks. Turn it until the 20 is at the top. Hang it again.
Fixed? Then tap Yes.
Help via WhatsAppFinal check of part C
Tick everything off. Something not right? Use Previous to go back to that step.
D1Mounting and connecting · step 1 of 11
Hang Heylo indoors. Not outside, not in direct sunlight and not above a radiator.
D2Mounting and connecting · step 2 of 11
Choose a spot where there’s no socket behind Heylo. A socket next to it is fine.
A socket behind Heylo can interfere with automatic scoring, even if it looks tidier.
D3Mounting and connecting · step 3 of 11
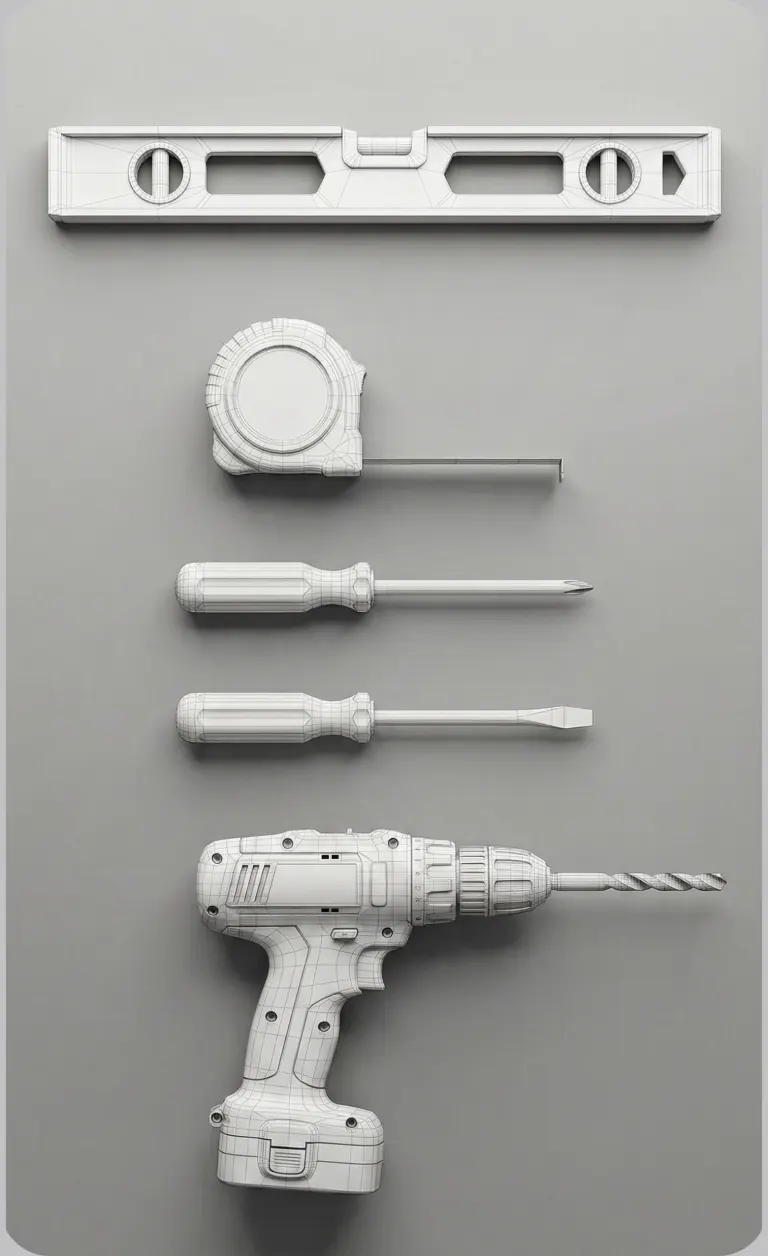
Hold the wall bracket against the wall. Put the spirit level on it: the bracket must be perfectly level. The bottom edge of the bracket sits at 171 cm from the floor. Mark the 4 holes with a pencil.
Measure to the bottom edge of the bracket, not to the middle. That way the bull will end up at the official height of 173 cm.
Check: Is the bottom edge of the bracket at 171 cm, and is the bracket level?
How to fix it
Measure again: from the floor to the bottom edge of the bracket. Not to the middle or the top. Only mark the holes once it’s right, then drill.
Fixed? Then tap Yes.
Help via WhatsAppD4Mounting and connecting · step 4 of 11
Drill a hole at each of the 4 pencil marks. Push a plug into each hole.
D5Mounting and connecting · step 5 of 11
Screw the bracket in place with the 4 screws (M). Use all 4 corners.
You’ve got it right if: The bracket is secure and level.
D6Mounting and connecting · step 6 of 11
Hang Heylo on the bracket. Check that it’s securely in place.
D7Mounting and connecting · step 7 of 11
Screw the levelling feet (A) in or out. Do this until Heylo sits flat against the wall all the way round.
Check: Is Heylo hanging flat, and does the board stay still when you press on it?
How to fix it
On the side that moves, screw the levelling foot out a little further. Keep going until Heylo sits firmly against the wall all the way round.
Fixed? Then tap Yes.
Help via WhatsAppD8Mounting and connecting · step 8 of 11
Stick the double-sided tape to the underside of the oche. Clean and dry the floor first.
D9Mounting and connecting · step 9 of 11
Place the oche 237 cm from the front of the board. Measure horizontally across the floor, not from the wall. The centre of the bull is at a height of 173 cm. Press the oche down firmly.
Then check it with the diagonal measurement: from the centre of the bull to the oche it’s 293 cm. If the diagonal is right, the height and distance are right too.
Already have a raised oche? Then place the strip against the front of it.
D10Mounting and connecting · step 10 of 11
Plug the adapter into the socket. Heylo switches on.
D11Mounting and connecting · step 11 of 11
Download the free Matchflight app and create an account. The app guides you through the final steps: connecting Heylo to your Wi-Fi and calibrating.


Final check of part D
Tick everything off. Something not right? Use Previous to go back to that step.
Very last step
This is where things sometimes go wrong. Look at your Heylo on the wall and tick off each point. Something not right? Tap the step code to see that step again.
You’re all set. Here’s what you’ve done:Finish the final check above first.
What’s next?
Send us a photo of your Heylo. We’ll help you sort it out.